Pink Slime vs Black Mold: Cleaning the Two Bathroom Growths
Clean bathroom growth safely, treat its color as a clue rather than an identification, and decide when moisture damage or a larger area needs professional help.
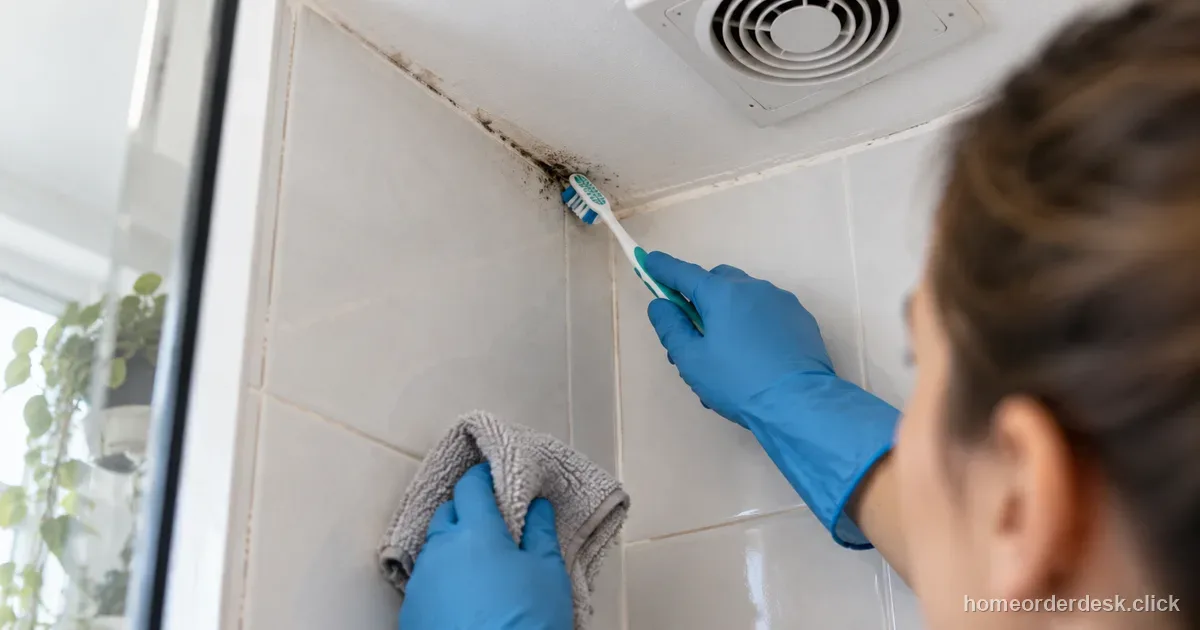
Pink, orange, green, or black growth can appear on bathroom grout, silicone, shower curtains, and ceilings. Color alone cannot identify the organism or tell you whether material behind a wall is affected. Treat the visible growth as a cleaning and moisture problem: clean compatible hard surfaces, dry them, and investigate leaks or recurring dampness instead of trying to diagnose a species by sight.
Start with the surface and the moisture source
Check whether the growth sits on washable tile, glass, or a removable curtain, or whether it has penetrated caulk, grout, drywall, or another porous material. Also look for failed caulk, plumbing leaks, condensation, and a fan that does not exhaust outdoors. A cleaner can remove surface soil, but it will not repair a leak or restore damaged material.
| Sound tile or glass | Caulk, grout, or porous material | |
|---|---|---|
| First step | Use compatible detergent and water; physically remove residue | Check for failed joints, saturation, or hidden growth |
| Chemical use | Follow product and surface label; bleach is not routine | Do not saturate or assume a surface spray reaches inside |
| Next action | Dry completely and correct recurring moisture | Repair or replace damaged material; get help for hidden/large growth |
Clean small areas on compatible hard surfaces
For a small patch on sound tile or glass, follow the surface and cleaner labels. EPA guidance says routine mold cleanup generally does not require bleach or another biocide; detergent and water with physical removal are usually the starting point. Dry the area completely afterward. Never mix cleaning products, and never add vinegar or ammonia to a surface with bleach residue.
Grout and sealant vary. If the growth is embedded, the grout is crumbling, or the caulk has separated, repeated surface sprays may not reach the source. Follow the product label, ventilate as directed, and replace failed caulk or damaged porous material when appropriate rather than saturating it with chemicals.
Use protective steps that match the job
EPA's small-area guidance is commonly framed around about 10 square feet, but that is a planning guide, not a guarantee that every job below that size is suitable for DIY. People with asthma, severe allergies, immune suppression, or other health concerns should avoid cleanup exposure and consider professional help. For mold cleanup, EPA guidance describes gloves, eye protection, and an N95 respirator as minimum PPE for small areas; larger jobs or hidden growth can require containment and professional controls.
Do not dry-brush or sand moldy material. Avoid disturbing it, keep other people out of the work area, and stop if removal would expose a large or hidden area.
Before starting, gather only the labeled cleaner, cloths or brush suited to the surface, gloves, eye protection, and any respiratory protection required by the cleanup guidance. Do not use a fan in a way that blows dust or debris toward occupied rooms. Keep children and people with asthma, allergies, chronic lung disease, or weakened immune systems away from cleanup; CDC advises people with these conditions to avoid mold cleanup when possible. If a cleanup causes breathing trouble or significant irritation, leave the area and seek medical advice.
Do not buy a home mold test to decide whether a visible patch needs attention. CDC says there are no health-based standards for acceptable mold levels in homes and does not recommend routine mold testing; identifying and correcting moisture and removing visible growth are the practical priorities. Testing cannot confirm that a room is safe for a particular person.
When cleaning a curtain, liner, or bath mat, check its own label and wash or replace it as directed. Keep the bathroom door or window configuration consistent with the fan maker’s ventilation instructions, and make sure the fan exhausts outdoors rather than into an attic. A surface that remains wet after showers needs a ventilation or leak fix, not a stronger spray.
Area size is one factor; material, water source, and health also matter.
When to bring in a professional
Get a qualified building or remediation professional involved when growth covers a larger area, keeps returning despite moisture correction, follows flooding or sewage, appears inside a wall or beneath tile, or affects HVAC equipment. EPA's guide generally recommends professional judgment for areas over 10 square feet, but the material, source of water, and occupants' health also matter. If a porous material such as drywall, insulation, or carpet is moldy or has stayed wet, cleaning its surface may not remove growth within it; removal and replacement may be needed.
Also pause before cleanup if the water source is unknown or contaminated, the ceiling is soft or sagging, or removing trim or caulk would expose a larger cavity. A contractor should explain how the leak or condensation will be corrected and what material needs repair, not just apply a coating over the stain. For a rental, document the leak and visible damage and notify the property manager promptly so the moisture source can be addressed.
Reduce bathroom dampness
Use an exhaust fan that vents outdoors during showers and afterward, and repair leaks promptly. Spread curtains and towels so they dry, wipe standing water from compatible surfaces, and clean soap film regularly. If growth reappears, look for a continuing moisture source rather than escalating to a stronger chemical.
Wash removable curtains and liners
Check the curtain or liner care label. If machine washing is allowed, use the listed cycle and detergent, then hang it fully open to dry. Do not assume every plastic liner tolerates a washing machine or bleach; follow its maker's instructions. Replace material that is brittle, torn, or persistently stained rather than risking damage during aggressive cleaning.
Pink or dark color alone cannot identify a specific bacterium, mold species, or health risk. Clean the compatible surface and investigate moisture or hidden damage.
Know what color cannot tell you
A pink film may be bacterial growth, yeast, mold, soap residue, or a mixture; a dark spot is not proof of a particular toxic mold. Visual inspection cannot identify species. If you need a health or building diagnosis because of symptoms, a leak, or hidden damage, consult an appropriate professional rather than relying on color or a home test.
Keep the room dry after cleaning
After cleaning, dry the surface, run the exhaust fan, and leave the curtain spread open. If a fan is weak, noisy, or does not move air outdoors, arrange repair or improve ventilation. Cleaning alone cannot prevent recurrence when moisture continues.
Frequently asked questions
Does pink bathroom growth mean Serratia bacteria?
Not necessarily. Pink color is not enough to identify an organism; it can be different microbes or residue. Clean the compatible surface and address moisture rather than diagnosing it by appearance.
How do I get black mold out of silicone sealant?
Do not assume bleach or a gel is safe for every silicone, grout, or nearby finish. Follow the cleaner and material labels. If mold is embedded, the caulk has separated, or the grout is damaged, repeated surface treatment may not reach the source; repair or replacement may be needed.
What is the EPA 10-square-foot mold guidance?
It is a general planning threshold for cleanup guidance, not a guarantee that every smaller job is safe for DIY. Hidden growth, porous materials, water damage, or health risks may call for professional help at any size.
Why does the mold keep coming back after I clean it?
Both pink bacteria and black mold need moisture. If it returns, the bathroom is not drying out — a weak or unused exhaust fan, no squeegee habit, or towels and mats left damp. Fixing the ventilation matters more than a stronger cleaner.